
Looking to upgrade your home’s lighting without hiring an electrician? With just a few tools and a little patience, you can install LED strip lights and instantly enhance the ambiance of any room. From accent lighting in coves to under-cabinet highlights and mood lighting behind your TV, LED strips are a versatile and cost-effective solution. In this DIY guide, we’ll walk you through exactly how to install LED strip lights safely and effectively, even if you’re a beginner.
Before you begin your LED strip lights setup, gather the following:
LED strip lights (preferably Fybros)
Power supply for LED strip (adapter or driver)
Measuring tape
Scissors (for cutting LED strips)
LED strip light connectors
Rubbing alcohol or surface cleaner
Dry cloth
Optional: remote control or dimmer switch
Having the right tools on hand ensures you can smoothly install LED strip lights without interruptions.
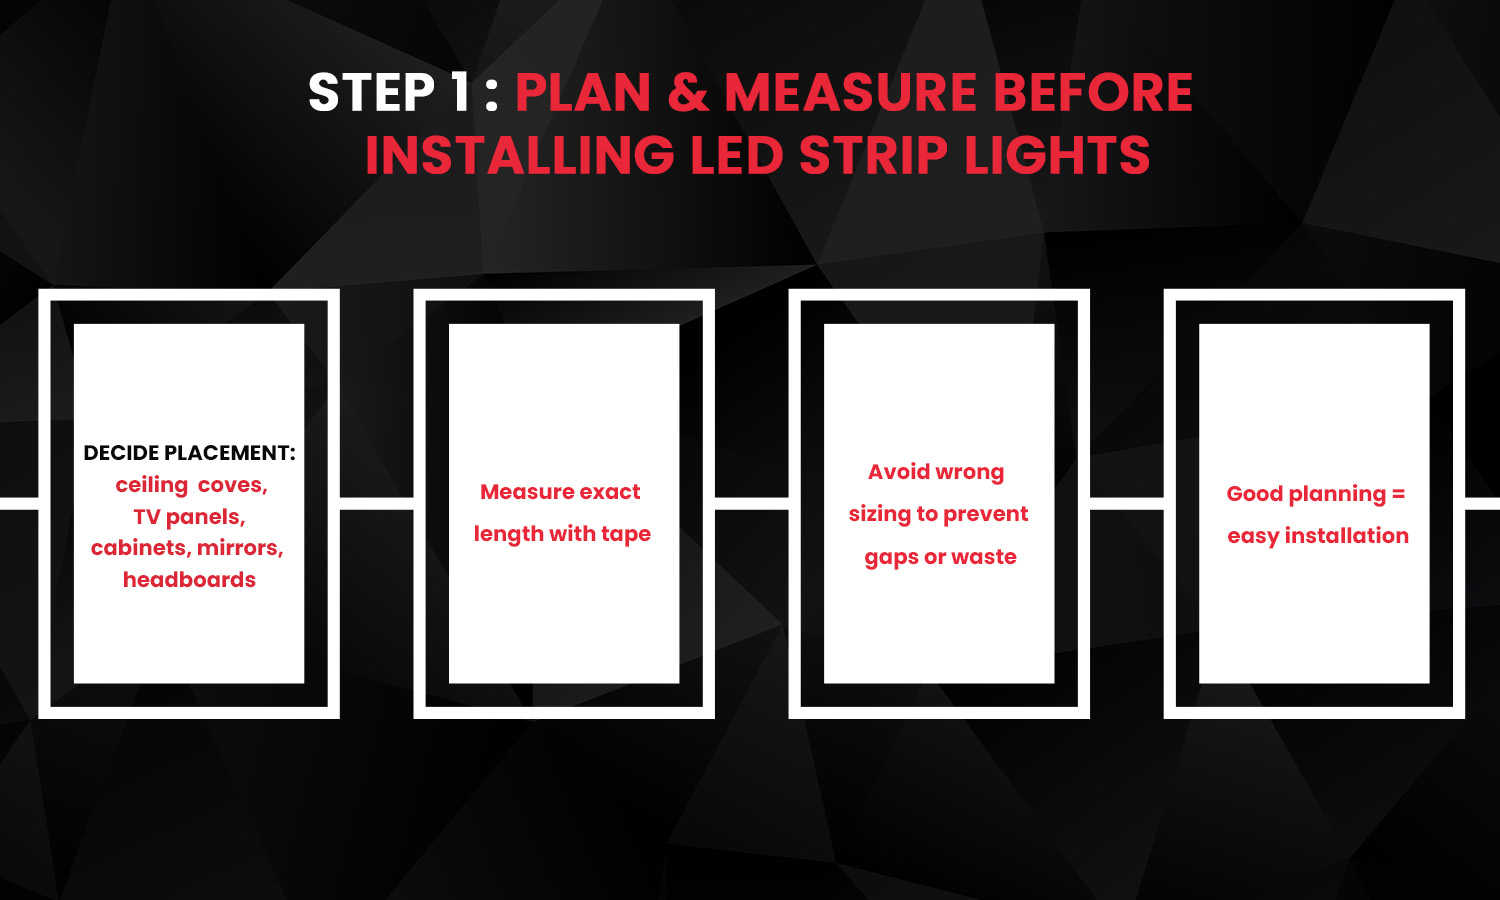
Every good DIY starts with a plan. Begin by deciding where to put LED strip lights in room settings like:
Ceiling coves
TV back panels
Under cabinets
Behind headboards or mirrors
Use a measuring tape to mark the exact length required. Overestimating or underestimating length can lead to weak spots or wasted strips. Planning your layout beforehand makes your LED strip light installation far easier.
Before applying the strips, clean the mounting surface thoroughly. Use rubbing alcohol or a gentle cleaner to wipe away grease, dust, or moisture. This ensures the adhesive backing sticks well and prevents peeling.
Proper surface prep is crucial when you install LED strip lights, especially in kitchens, bathrooms, or textured walls.

Wondering how to cut LED strip lights without damaging them? Every strip has designated cut marks (usually every 3 LEDs). Always cut along these lines to avoid breaking the circuit.
Steps to follow:
Unplug the strip
Use a sharp pair of scissors
Cut only at the marked intervals
Cutting outside of the designated areas can cause the strip to malfunction, disrupting your DIY LED strip light setup.
If your lighting path has corners or you’re connecting multiple strips, use LED strip light connectors. These small clip-on accessories let you link sections without soldering.
Use:
Straight connectors for extending length
Corner connectors for navigating 90° bends
T-connectors for branching layouts
These tools make it easier to connect LED strip lights across uneven or multi-surface spaces — no wiring expertise needed.
Once your layout is ready and your strips are cut and connected, it’s time to mount.
Peel off the adhesive backing
Firmly press the strip along your marked path
Avoid touching the adhesive too much with your fingers
If you're installing LED strip lights in ceiling coves, work slowly to ensure alignment and avoid sagging. For high-moisture areas, consider using clips or brackets for added security.
Now it’s time to power up! Plug the LED strip into the power supply for LED strip — this could be a plug adapter or a dedicated driver, depending on the model.
Check for:
Secure connections at all joints
Proper voltage (match your strip’s requirement)
All segments lighting up evenly
If a section doesn’t work, revisit your connections — especially any cuts or joints. Refer to basic troubleshooting LED strip lights tips if needed.
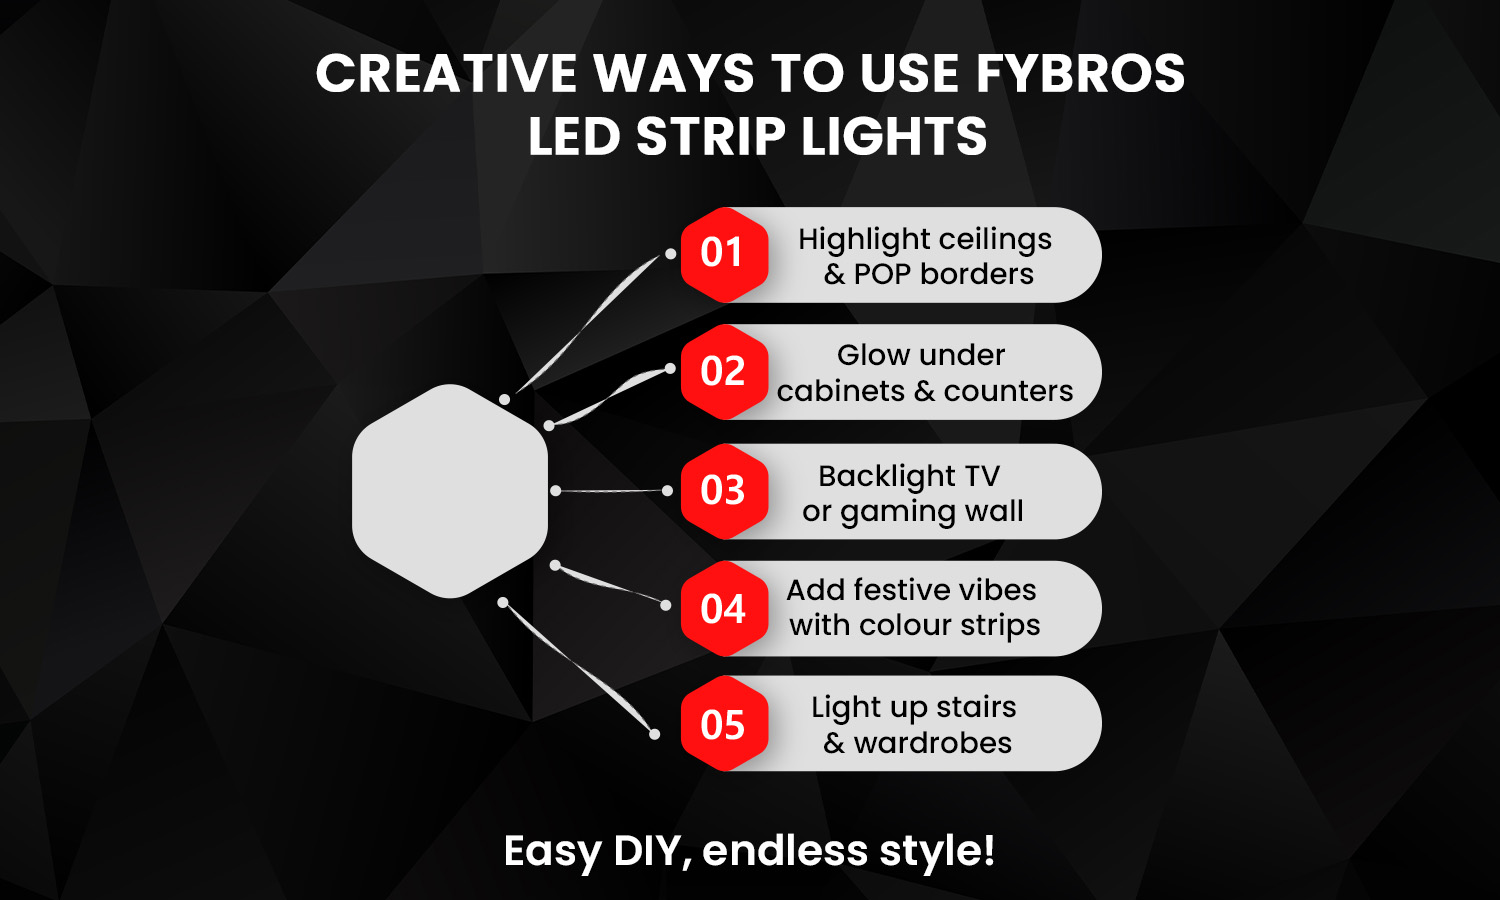
Now that you've learned how to install LED strip lights, here are a few creative ways to use them:
Highlight ceiling mouldings or POP borders
Add glow beneath kitchen cabinets or counters
Create a backlit wall for your TV or gaming setup
Use colour-changing strips for festive decor
Illuminate staircases or wardrobes for safety and style
With flexible designs and easy installation, DIY LED strip light setups can transform your space in hours.
Learning how to install LED strip lights is simple, satisfying, and affordable. With just a few steps, you can revamp any room with ambient lighting that feels high-end and modern. Whether it’s your bedroom, kitchen, or ceiling cove, Fybros LED strip lights are built for style, flexibility, and long-term performance. Make your DIY project shine brighter — start with the right strip, and let your creativity take over.
1. Do you have to cut LED strip lights?
Not always. But if your desired layout is shorter than the strip, you can safely cut LED strip lights at the marked points to match your dimensions.
2. Can you just plug in LED strip lights?
Yes! Most LED strips come with plug-and-play adapters. Just ensure you’re using the correct power supply for LED strip requirements.
3. How do you stick LED strip lights to a wall?
Clean the surface, peel the adhesive backing, and press firmly. For tricky textures, you may use mounting clips.
4. Can you connect two LED strip lights together?
Absolutely. Use LED strip light connectors to join multiple strips or navigate corners — no soldering needed.

 Fans
Fans
 Switches & Accessories
 Led Lighting
 Wires & Cables
 Switchgear